Upload
This guide demonstrates how to upload various data types into the Gemini app's Files tab. It covers organizing, verifying, and syncing metadata to ensure consistent and accurate data management.
Video Tutorial
Watch the full guide on Guidde

1. Introduction to Uploading Data
The Files section is the entry point for getting your data into the application. To access it, select the Files option in the left sidebar. There are two tabs available: Upload and Manage.
- Key Actions: Select Files tab, choose Upload or Manage.
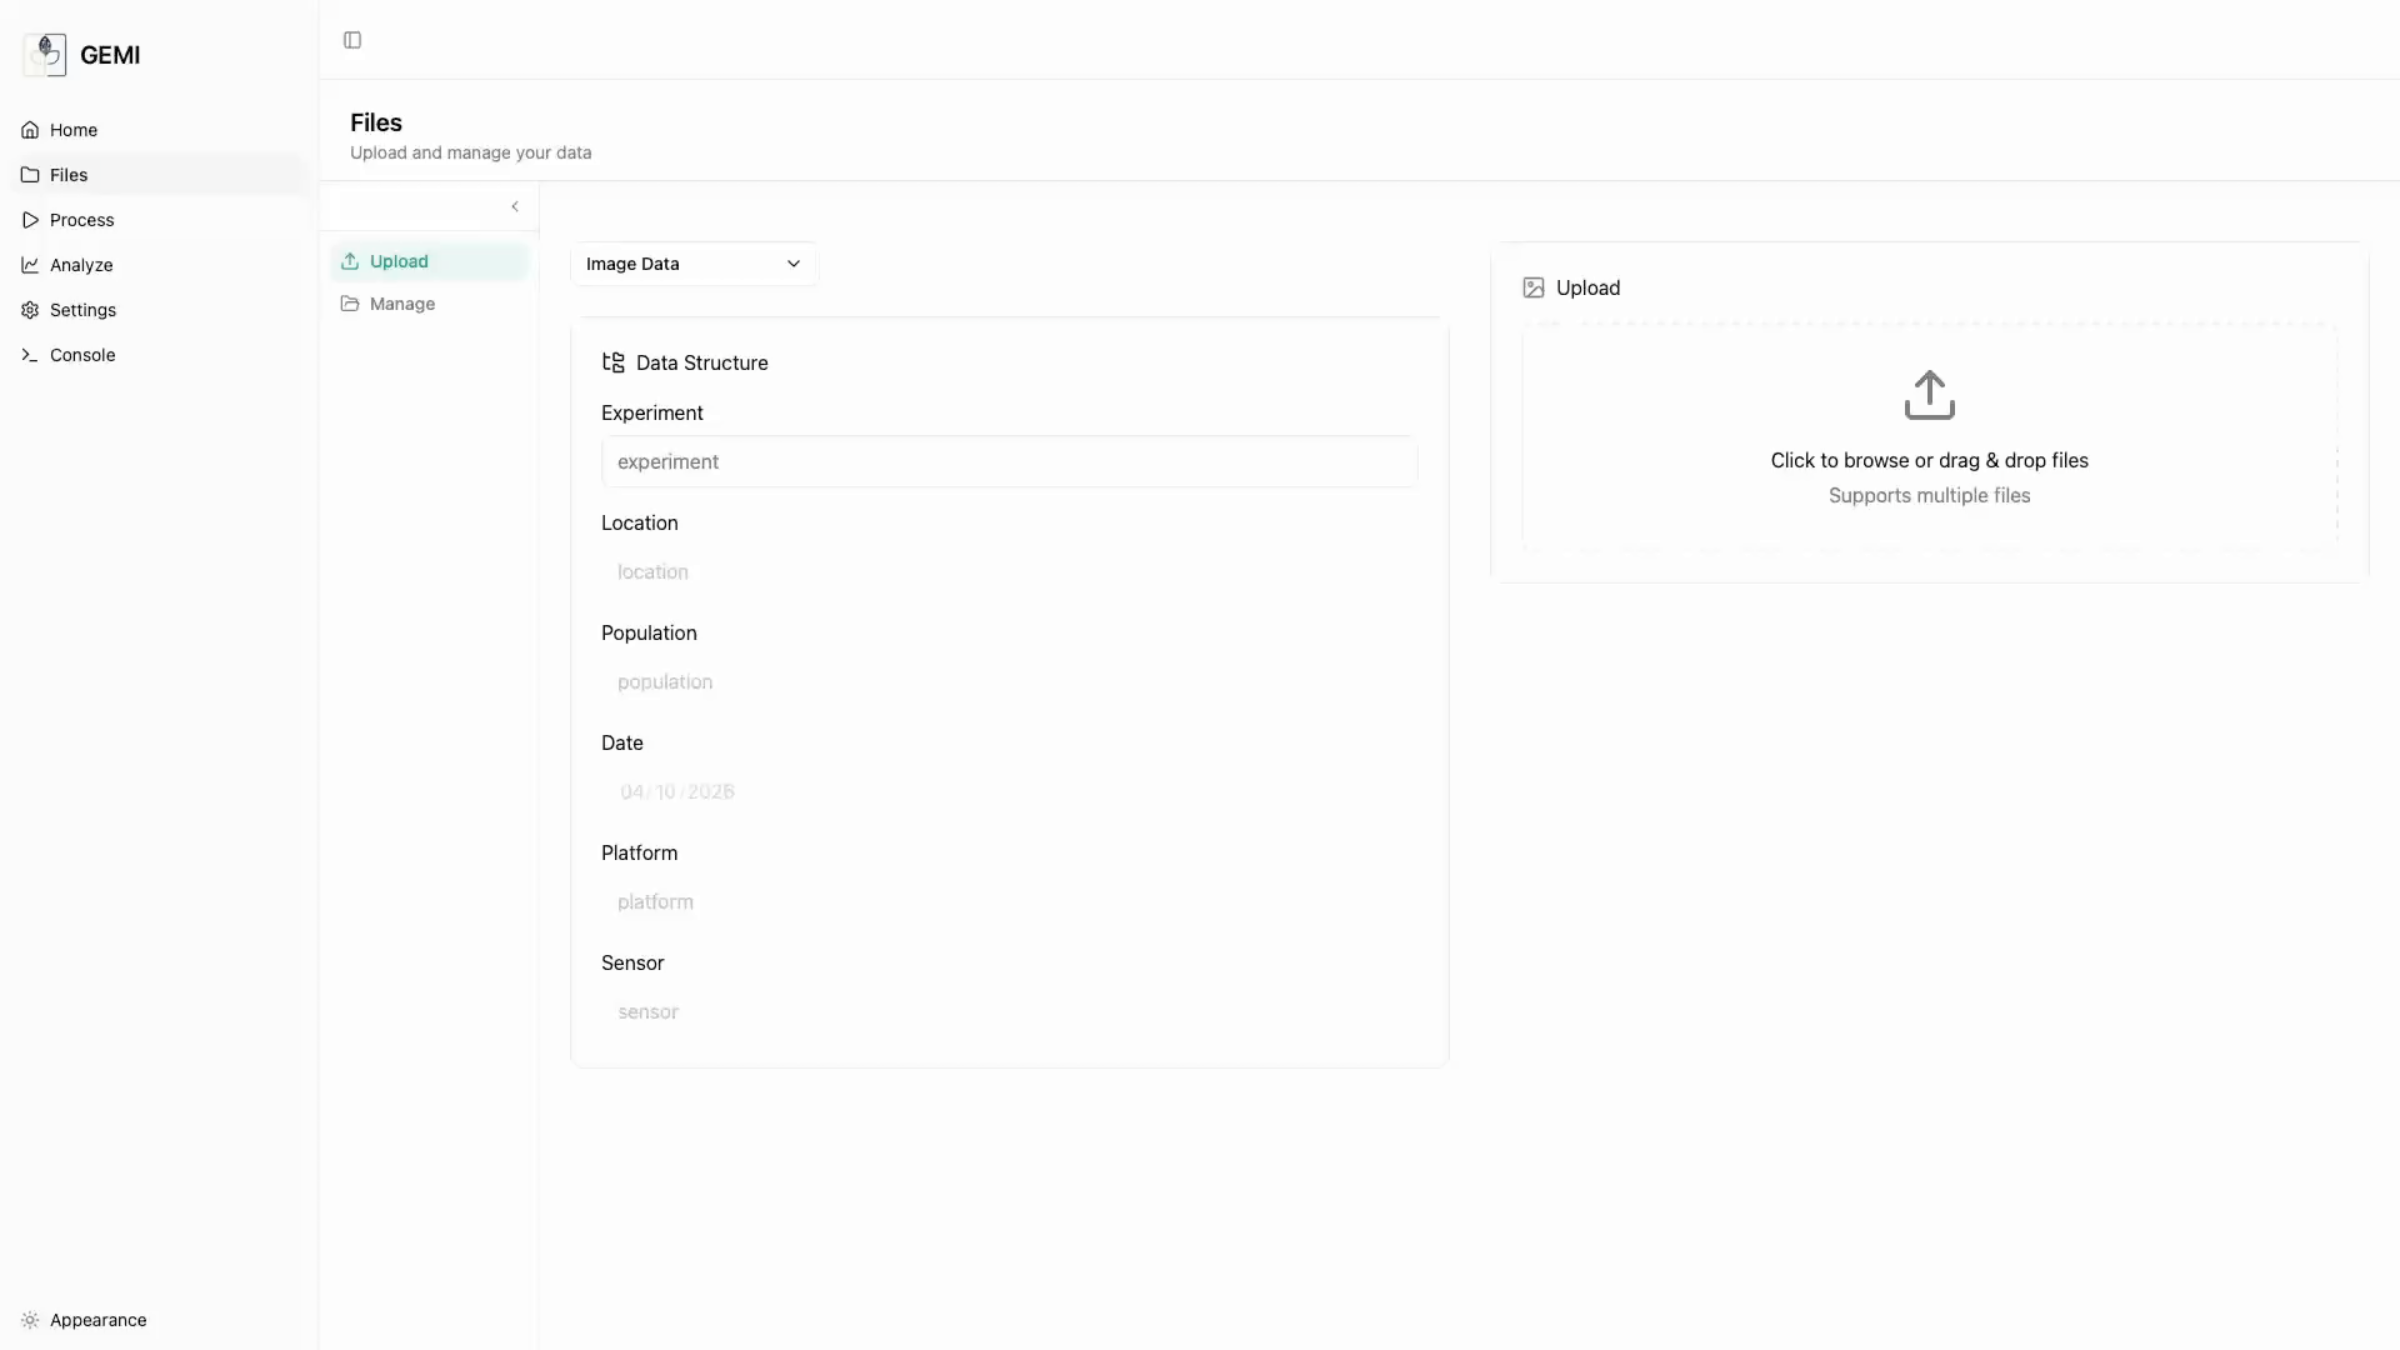
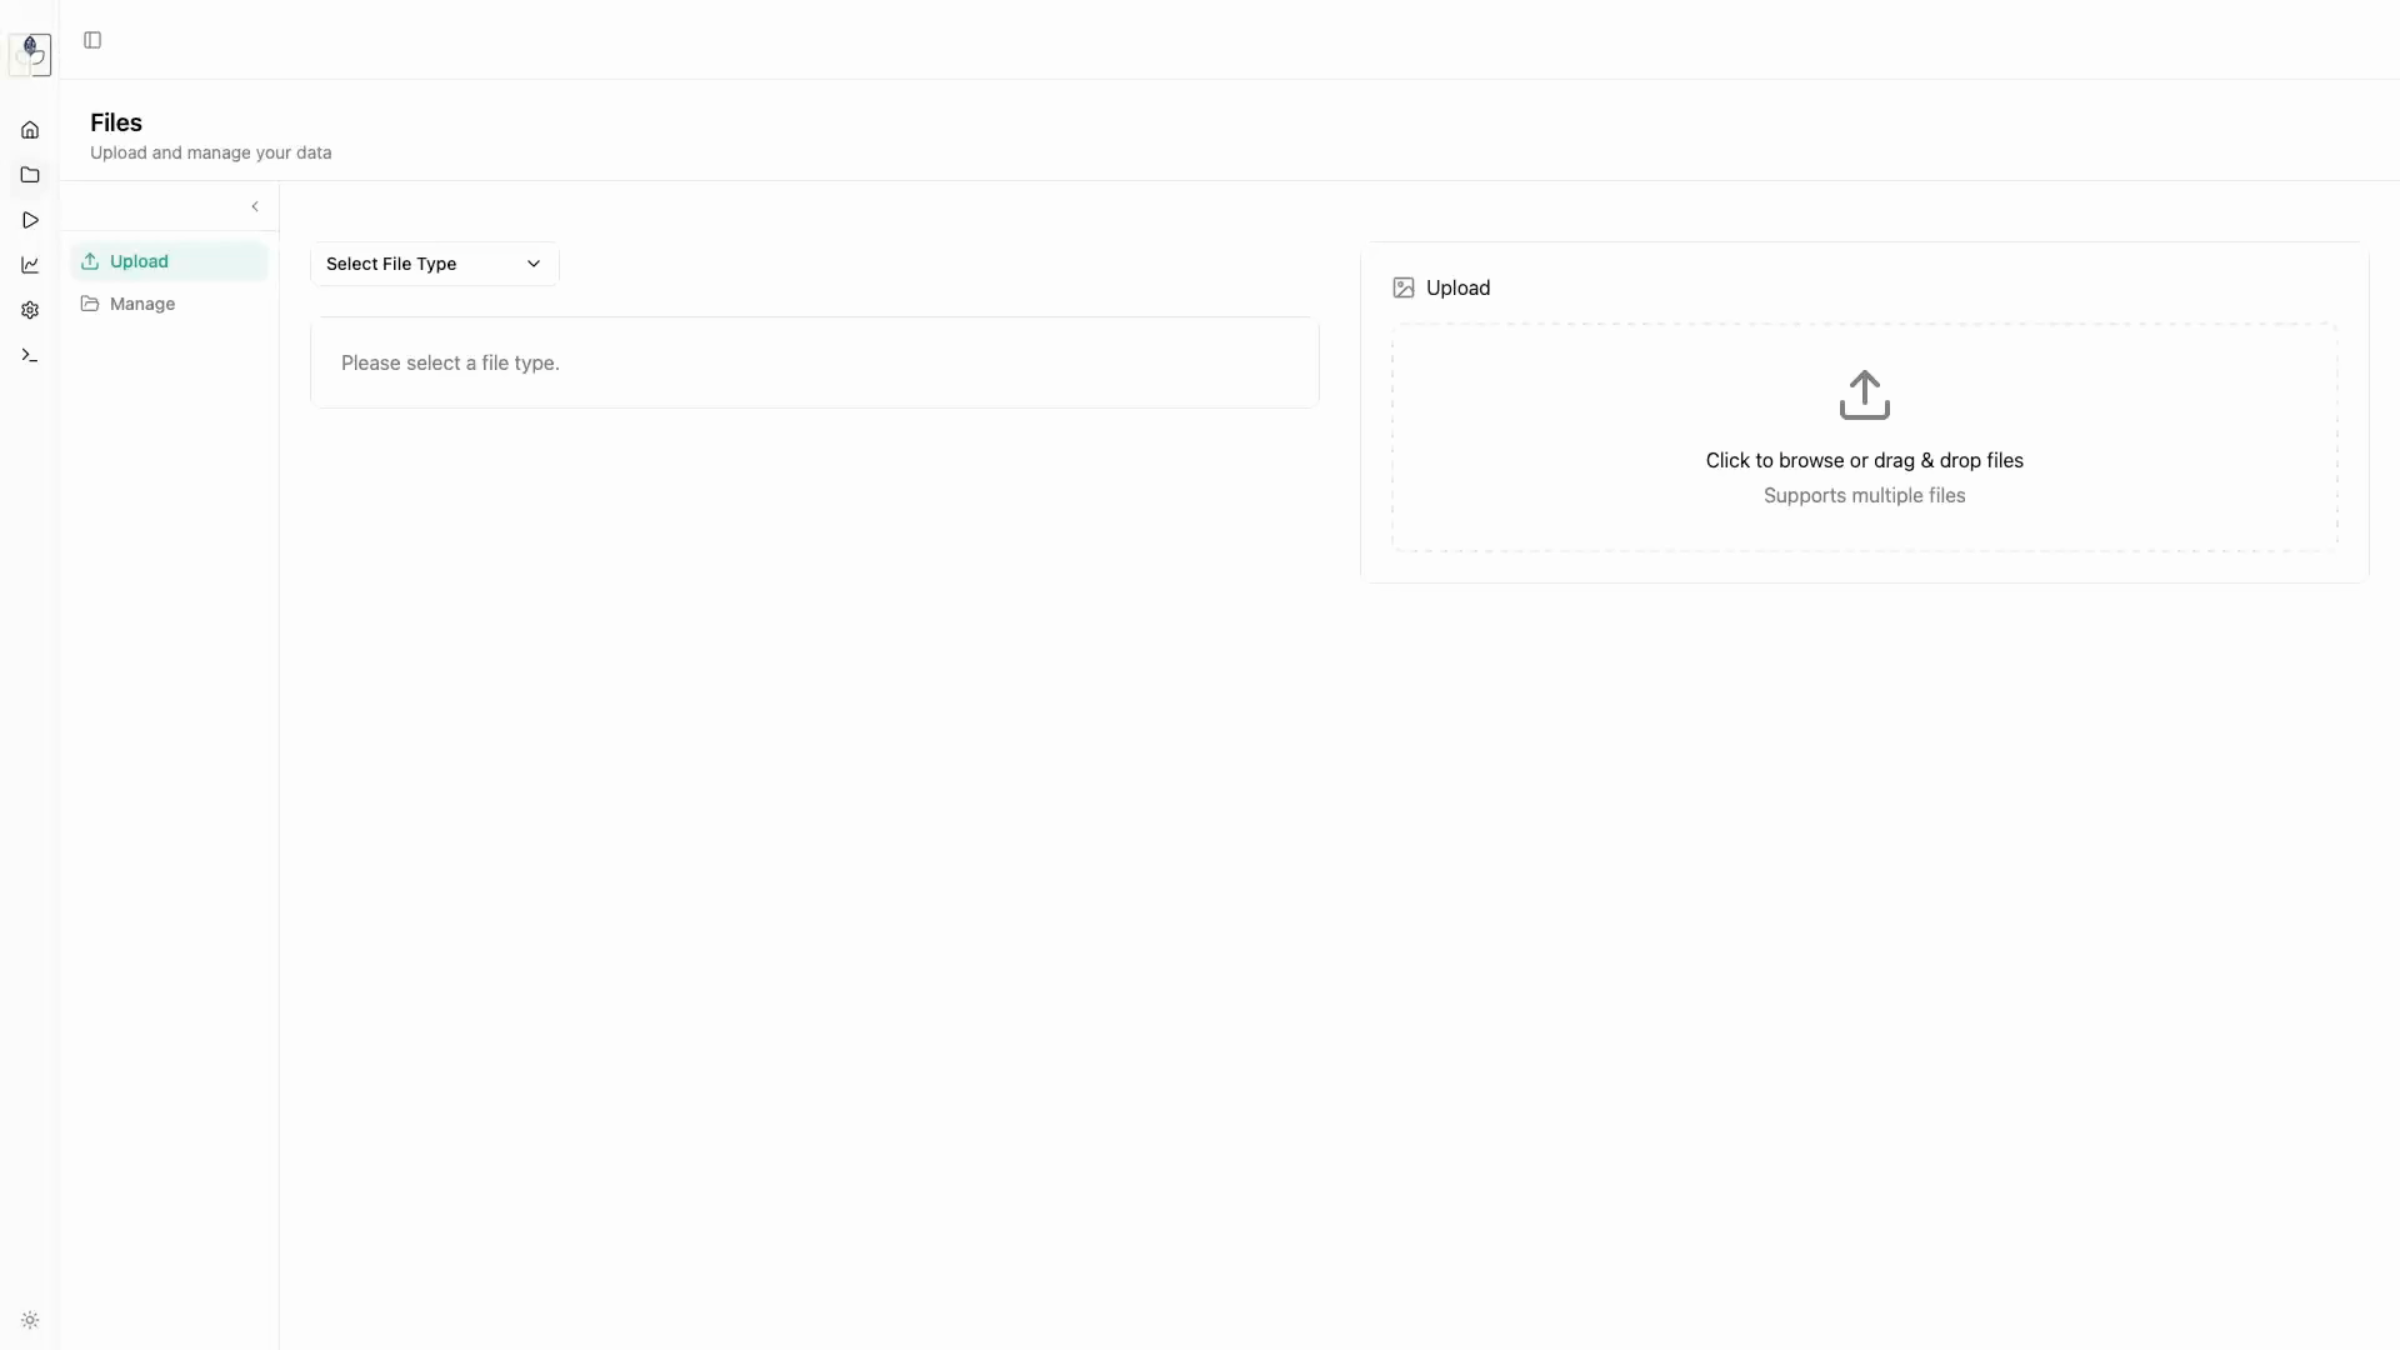
2. Uploading Data Types
When selecting a data type to upload, you will need to input specific data structure fields. This allows you to organize your data consistently.
- Example (Drone Images): When uploading drone imagery, many fields (like Date, Platform, and Sensor) may auto-fill from the image metadata, ensuring consistency. You will need to manually define the Experiment, Location, and Population fields.
- Workflow: Select data type -> Fill required fields -> Verify metadata -> Click upload.
3. Syncing Metadata
If your images are missing metadata, you can use the Sync Metadata feature to upload a corresponding CSV file.
1. Select the Synced Metadata data type.
2. When prompted, map the CSV columns to the required application fields (e.g., image path, timestamp).
3. The application will automatically handle the mapping for lat, long, and altitude if present in the CSV.
- Sync Process: Upload CSV -> Map columns -> Confirm.
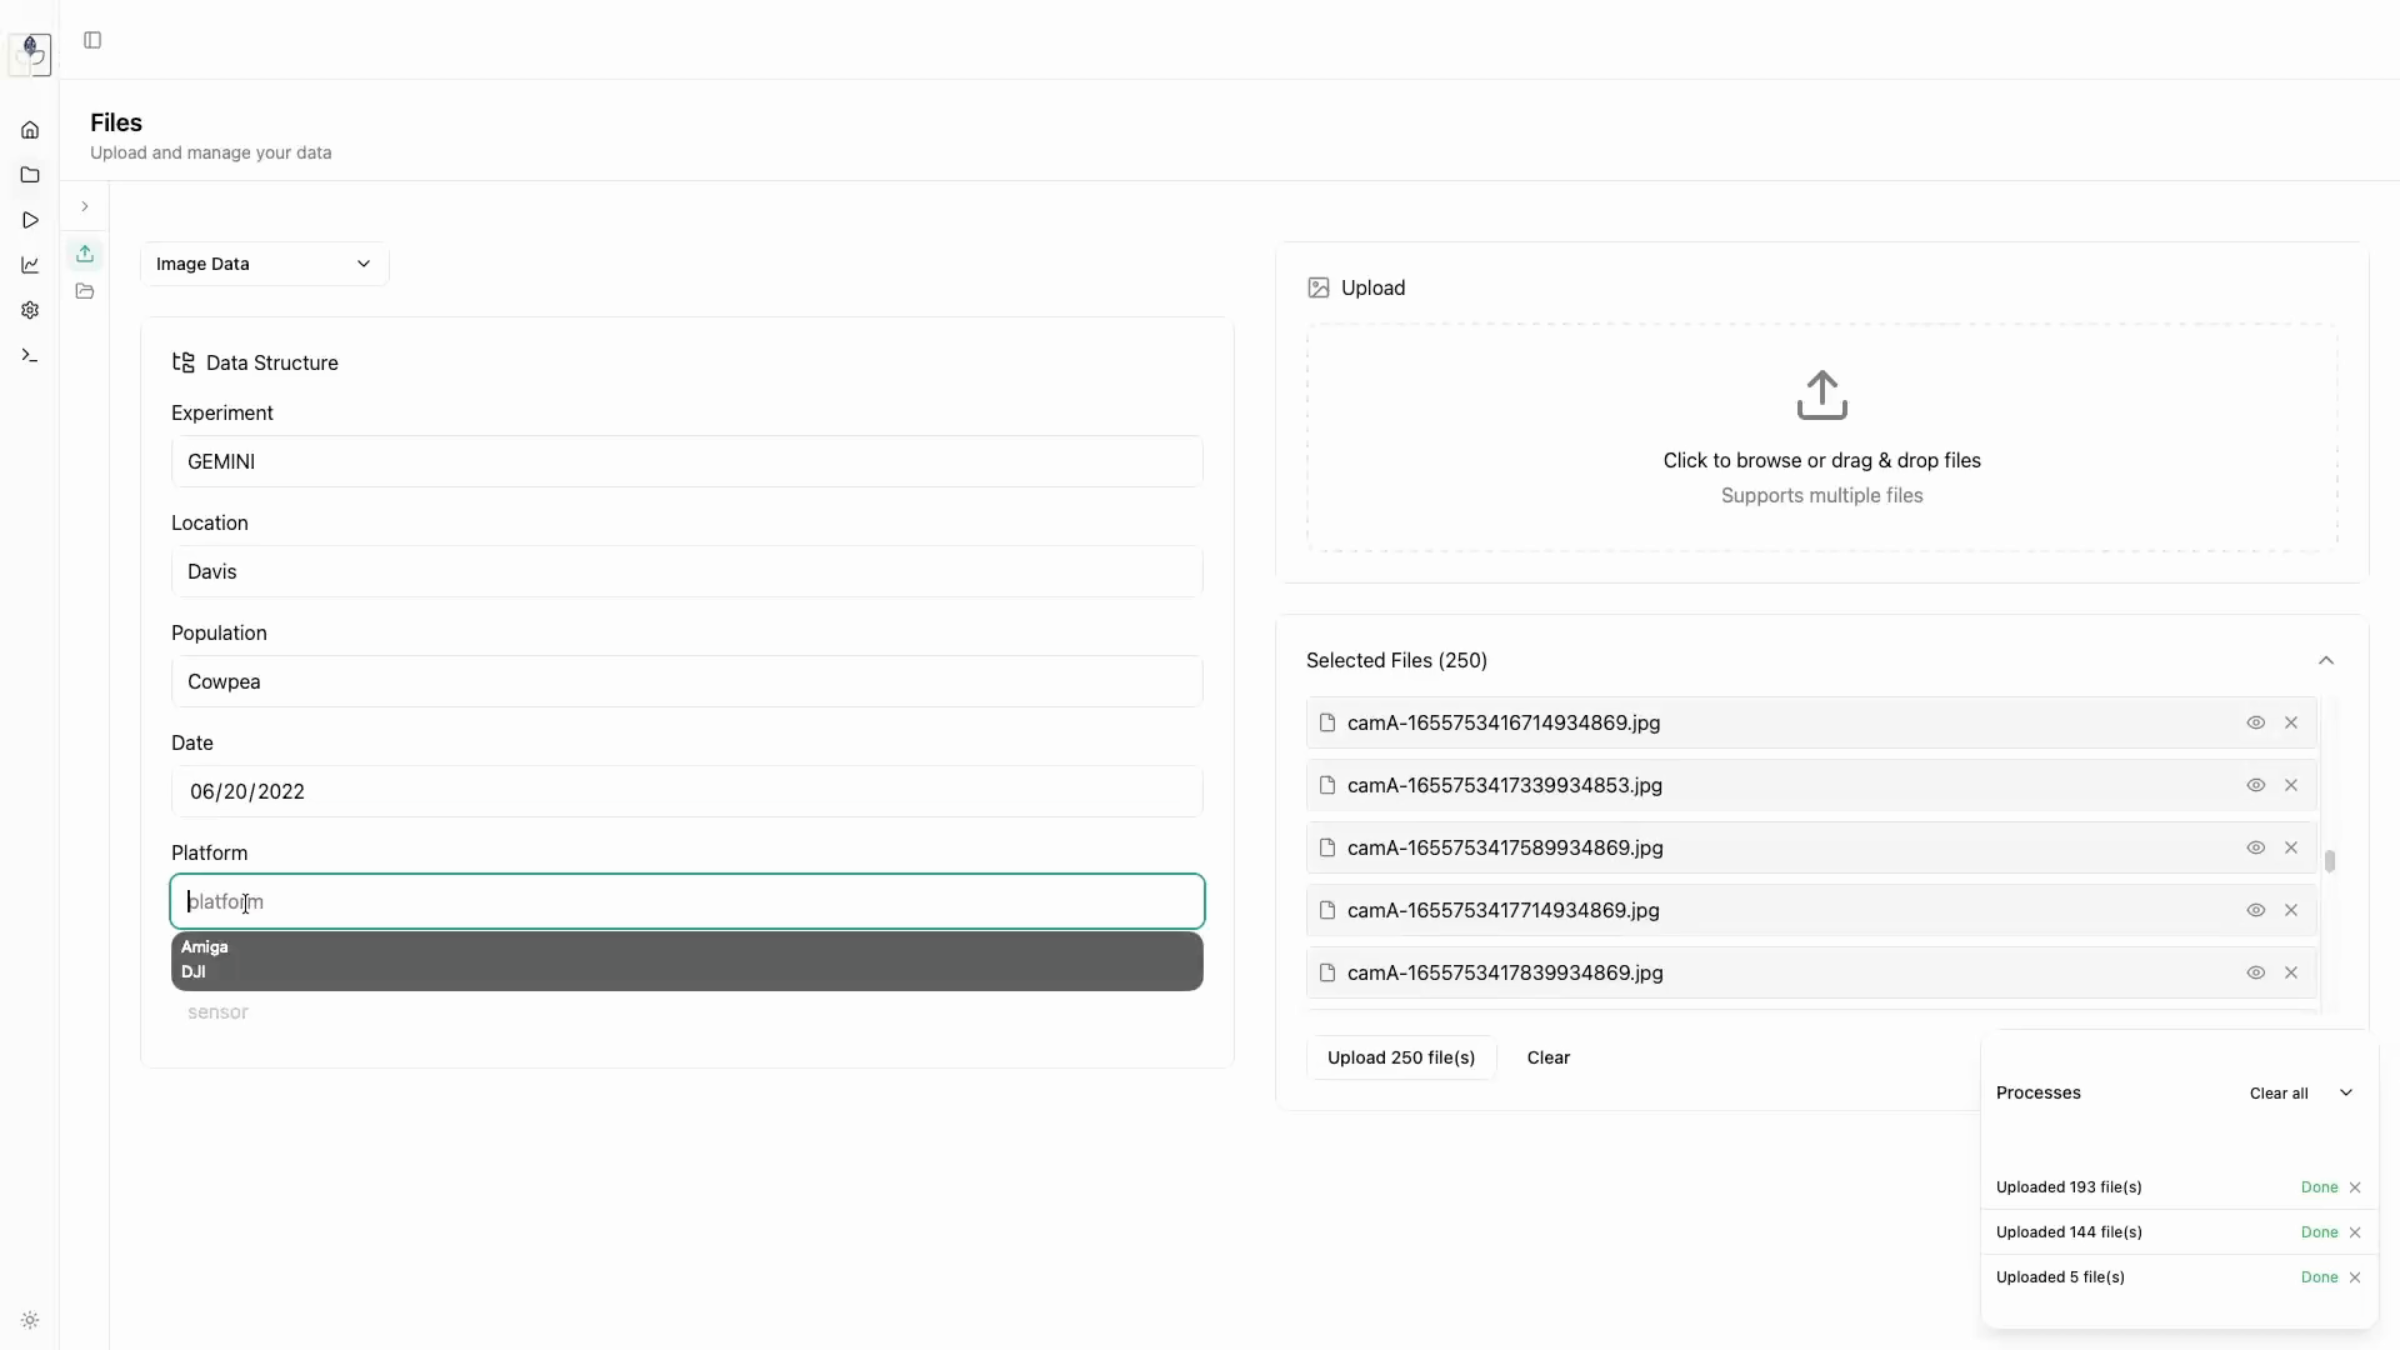
4. Verifying Uploads
After initiating an upload, track progress in the Processes tab. Once completed, navigate to the Manage tab to: - Confirm file counts and upload status. - Use the View Images feature to perform a quality check and ensure your data was uploaded correctly.
- Verification steps: Check Processes tab -> View in Manage tab -> Verify image quality.